Example Limewash Projects in Kent

Four example projects: three houses from the 1980s and 1990s and a restaurant, each with its timeline and cost.

Clay-pink powder room with a sealed basin wall in a 1990s house

Example project
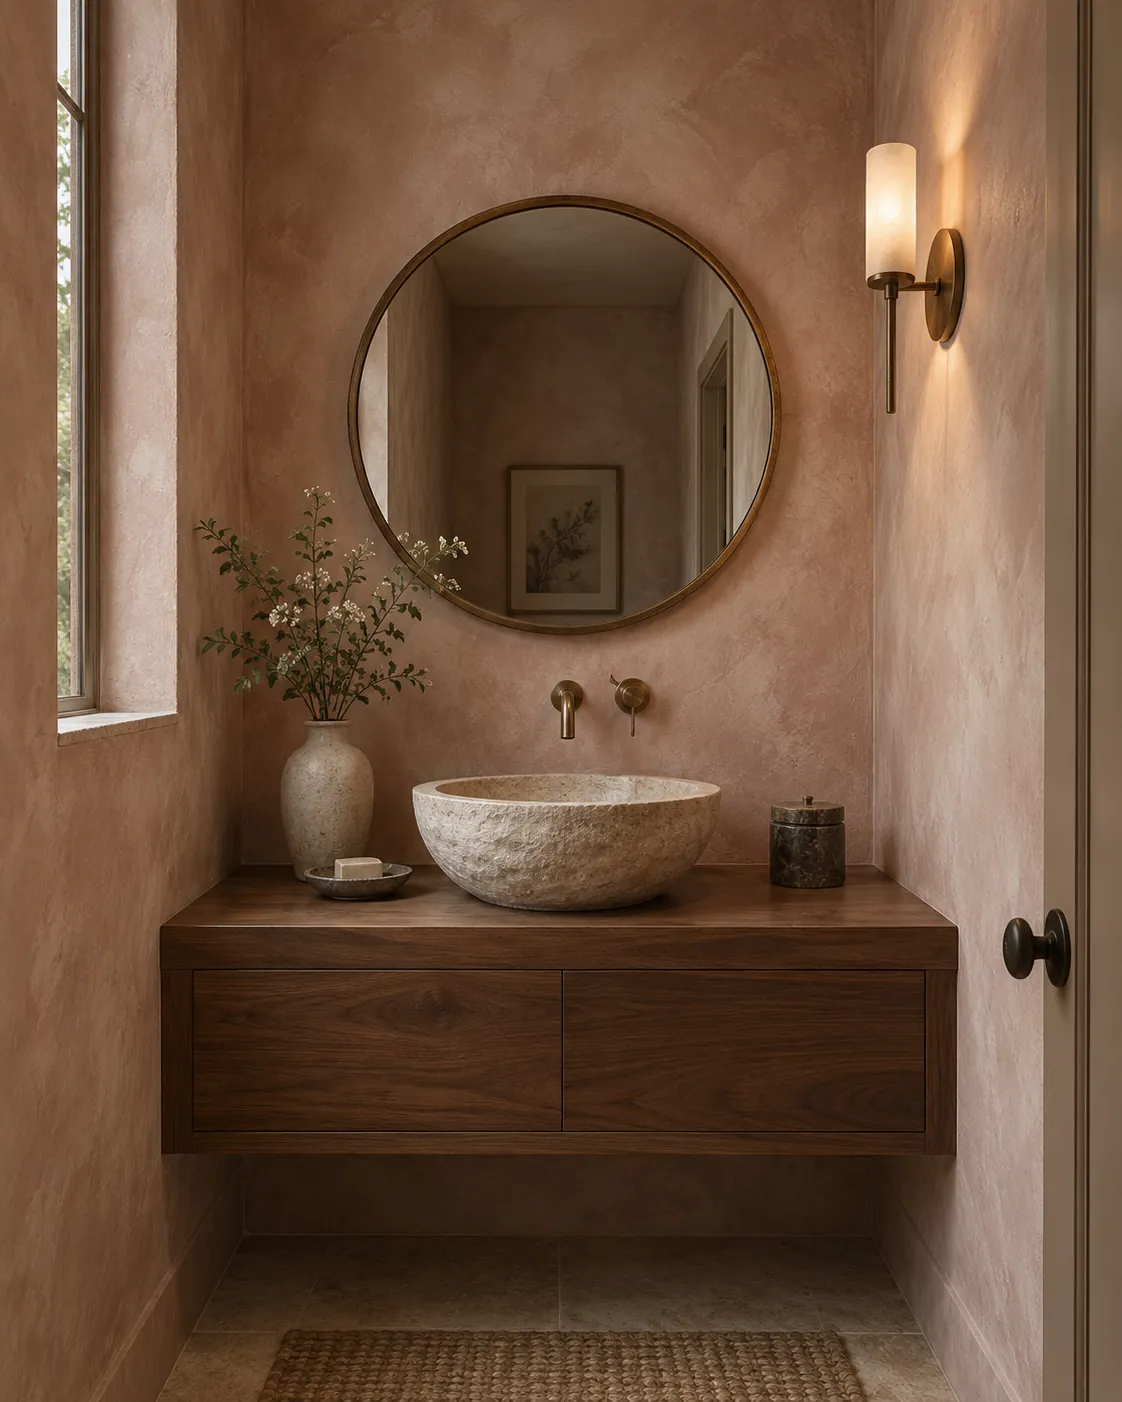
Powder room in light clay-pink limewash with a round brass mirror, a stone vessel basin and a walnut vanity
Home
1990s house, powder room with a window
Original request
Clay-pink lime walls, without water marks behind the basin
Surface
Painted drywall
Area
About 185 sq ft of wall
Existing finish
Semi-gloss latex paint
Finish
Light clay pink lime paint, two coats on two undercoats, sealed behind the basin
Timeline
Three working days, plus a short visit several days later
Cost
$1,700

Scope of work

Semi-gloss paint sanded dull and cleaned; two undercoats; masking of the vanity, mirror, faucet, sconce and floor; two brushed coats; a clear matte sealer brushed onto the wall behind the basin several days after the last coat.

Project overview

The owners want the small powder room to feel warm and soft, in a light clay pink. The faucet comes out of the wall above the basin, and they worry about water marks on plain lime.

Lime does not take much splashing, so the wall behind the basin gets a clear matte sealer several days after the last coat. The sealer makes that strip wipeable for light splashes but not waterproof, which suits a powder room with no shower.

The goal

A warm, soft powder room in light clay pink, with a sealed strip behind the basin that can take the odd splash and a gentle wipe.

Process

  1. Before work Boards in light clay pink, one of them sealed, compared side by side in the room’s own light.
  2. Day one Masking, the semi-gloss sanded dull and cleaned, first undercoat.
  3. Day two Second undercoat.
  4. Day three Two coats of clay pink, each wall brushed corner to corner.
  5. Several days later Clear matte sealer on the wall behind the basin.

Planning right

  • This kind of sealer is only for light shades, because it can cloud a deep color. The clay pink here is light enough, and the sealed board proves it first.
  • Once sealed, the strip can be wiped with a barely damp cloth. It is not waterproof, so water left standing on it will still mark.
  • Lime brushed straight onto a shiny wall will not stay on. Semi-gloss is dulled and given two undercoats first.
  • In a small room every stroke is close to the eye, so each wall is finished in one go.
Request a free quoteMore about interior limewash walls

Orange-peel TV wall made smooth in a 1980s family room

Example project

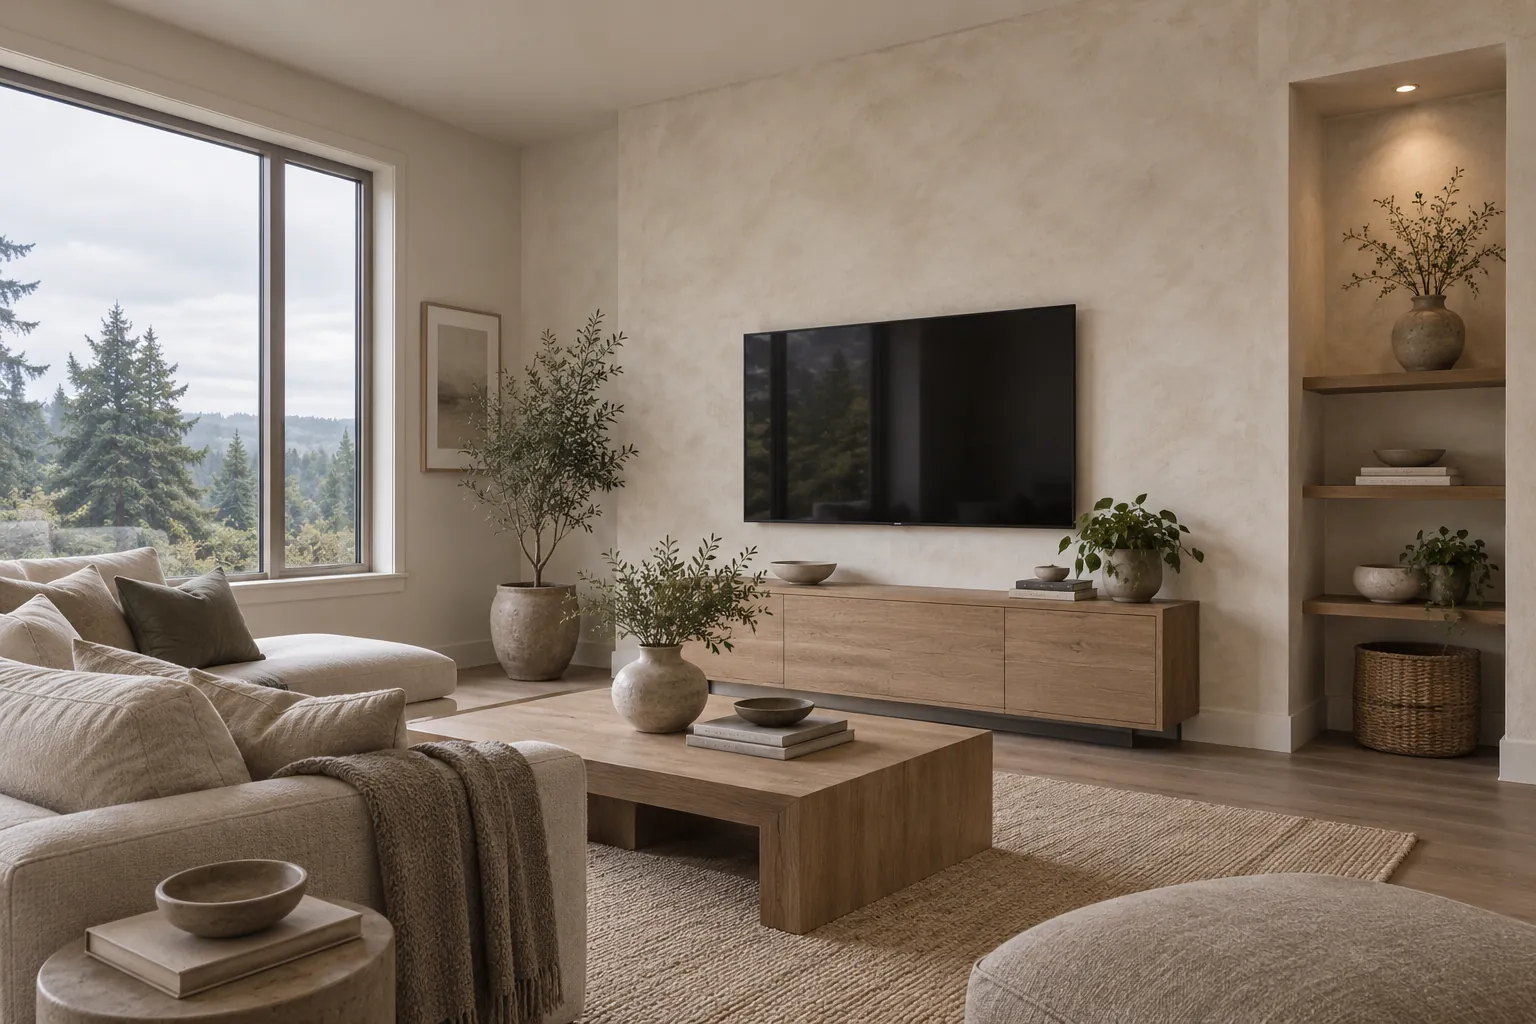
Family room TV wall and lit shelf niche in soft cream limewash, beside a window looking out on evergreens
Home
1980s house, family room with a TV wall and a lit niche
Original request
Get rid of the orange-peel texture on the TV wall
Surface
Orange-peel drywall, TV wall and niche
Area
About 145 sq ft of wall
Existing finish
Orange-peel texture under eggshell paint
Finish
Skim coat, drywall primer and undercoat, then a lime paint in soft cream, two coats
Timeline
Four working days
Cost
$1,350

Scope of work

TV taken down and the console moved; a skim coat over the orange-peel texture, sanded smooth; two coats of drywall primer and the undercoat over the new skim; two brushed coats, including the inside of the niche; protection of the floor and shelves.

Project overview

The TV wall has a bumpy orange-peel texture under its paint, and the owners want it to look like smooth old plaster instead.

Limewash is not made to hide texture, so on its own it would only follow the bumps. The wall gets a skim coat first, sanded smooth, and the fresh skim then needs the same primers as new drywall before the lime goes on.

The goal

A smooth, softly clouded cream wall behind the TV, with the lit niche looking like part of the same plaster-like surface.

Process

  1. Before work TV and console moved; boards in soft cream checked with the niche light on.
  2. Day one Floor and shelves protected, skim coat over the textured wall and the niche.
  3. Day two Skim sanded smooth, first coat of drywall primer.
  4. Day three Another primer coat, then the undercoat once it has dried.
  5. Day four Soft cream lime on the wall and into the niche, two coats.

Planning right

  • Limewash follows the surface under it. Orange peel, knockdown and other texture will still show unless the wall is skimmed flat first.
  • A fresh skim coat counts as new drywall. It takes two primer coats and the undercoat before any lime.
  • The niche light shines down the wall and picks out brush marks. Check the boards with that light on.

Request a free quoteMore about interior limewash walls

White-painted brick fireplace given depth in a 1990s family room

Example project

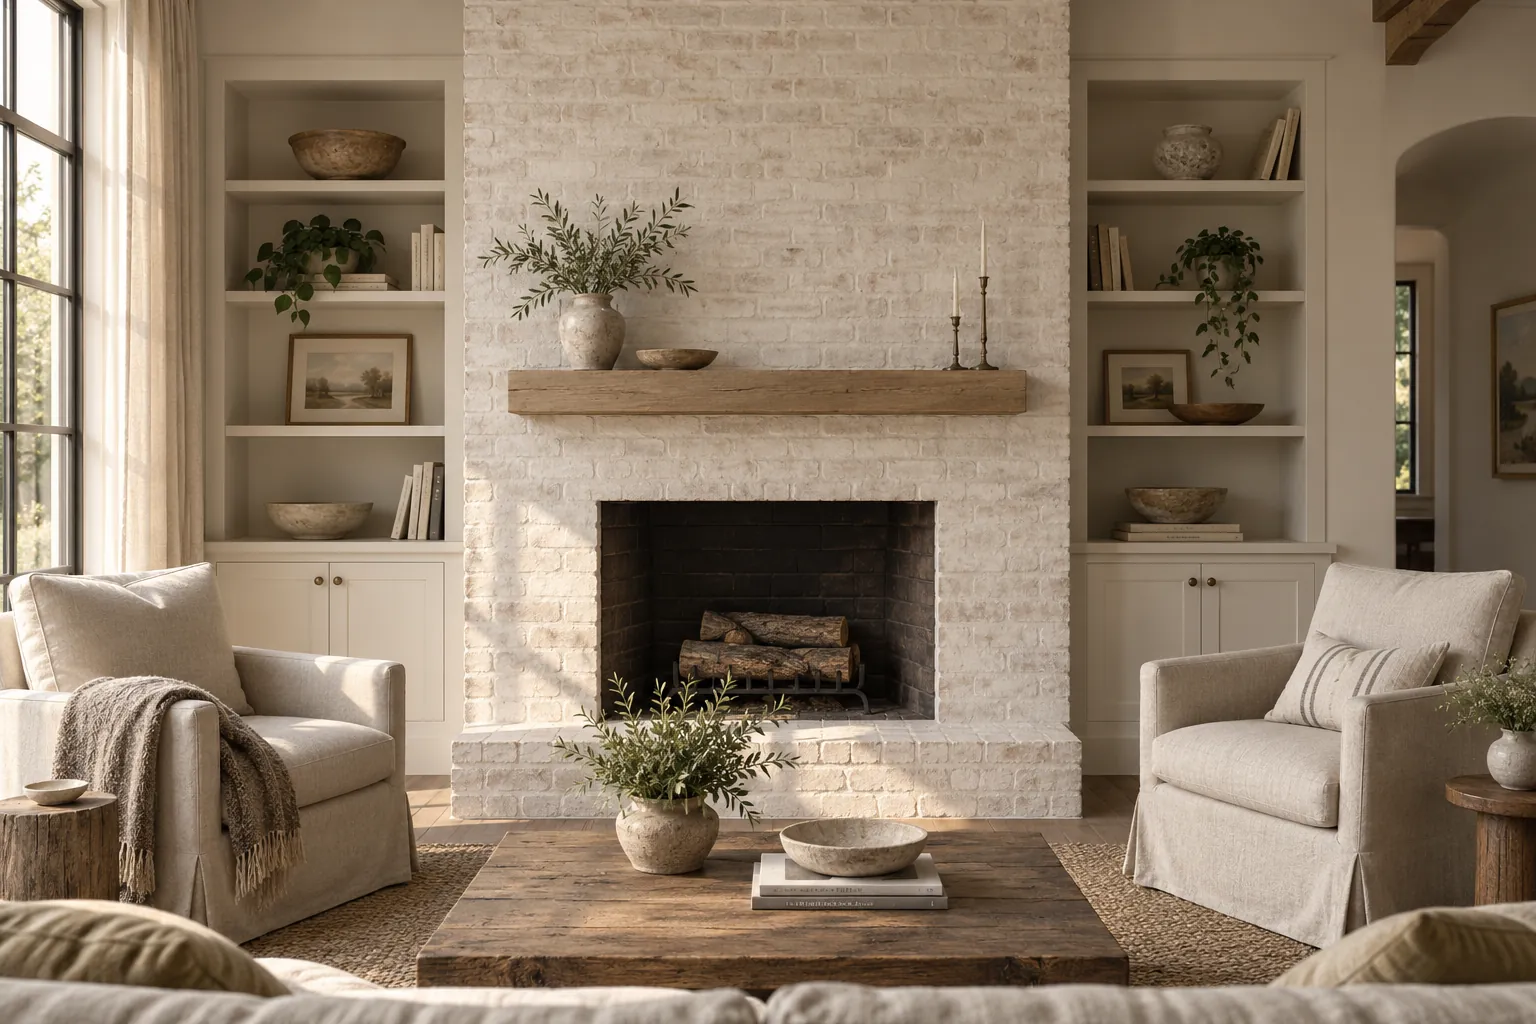
Floor-to-ceiling brick fireplace in chalky white limewash between built-in shelves, with a wood mantel beam and a bare firebox
Home
1990s two-story house, high-ceilinged family room with built-in shelves
Original request
Give a flat white-painted brick fireplace some depth
Surface
Painted brick surround from floor to ceiling, and the raised hearth
Area
About 120 sq ft of brick
Existing finish
Flat white latex paint, sound and well bonded
Finish
Bonding primer, then a mineral limewash in chalky white, two coats
Timeline
Two days of work, then a return visit 10 to 14 days later
Cost
$2,100

Scope of work

A check that the old paint is well bonded; protection of the floor, built-ins and mantel beam; cleaning; a bonding primer made for painted masonry; two brushed coats, lightly worked back on the brick faces for variation; a clear protective topcoat on the raised hearth on a return visit 10 to 14 days later. Nothing goes inside the firebox or on the wood beam.

Project overview

White paint has left the brick looking flat, like a white wall with lines drawn on it. The owners want the soft, chalky variation of limewash without stripping the brick.

Most limewash cannot go on paint, and some brands rule it out on painted brick altogether. Where the paint is sound, a lime system with a bonding primer can take it, so the plan checks the paint, primes it and then brushes on two coats with some variation worked in.

The goal

A chalky white fireplace with soft variation across the bricks, so it looks like old masonry again rather than a painted wall.

Process

  1. Before work Paint checked for loose areas, and a primed board brushed in two whites.
  2. Day one Protection, cleaning and the bonding primer on the brick and the hearth.
  3. Day two Two coats of chalky white, the second worked back lightly on the brick faces.
  4. 10 to 14 days later Return visit for the protective topcoat on the hearth.

Planning right

  • Lime only goes over paint that is holding firm. Flaking patches come off before the primer.
  • The product matters here. This job needs a lime system with a bonding primer for painted masonry, not a limewash made only for bare brick.
  • Inside the firebox, heat and soot would ruin any lime, so the coats stop at the opening.
  • A hearth people sit on needs a clear topcoat, brushed on about two weeks after the lime, or it will rub off on clothes.

Request a free quoteMore about limewash fireplaces

Scuffed restaurant limewash refreshed on closed days

Example project

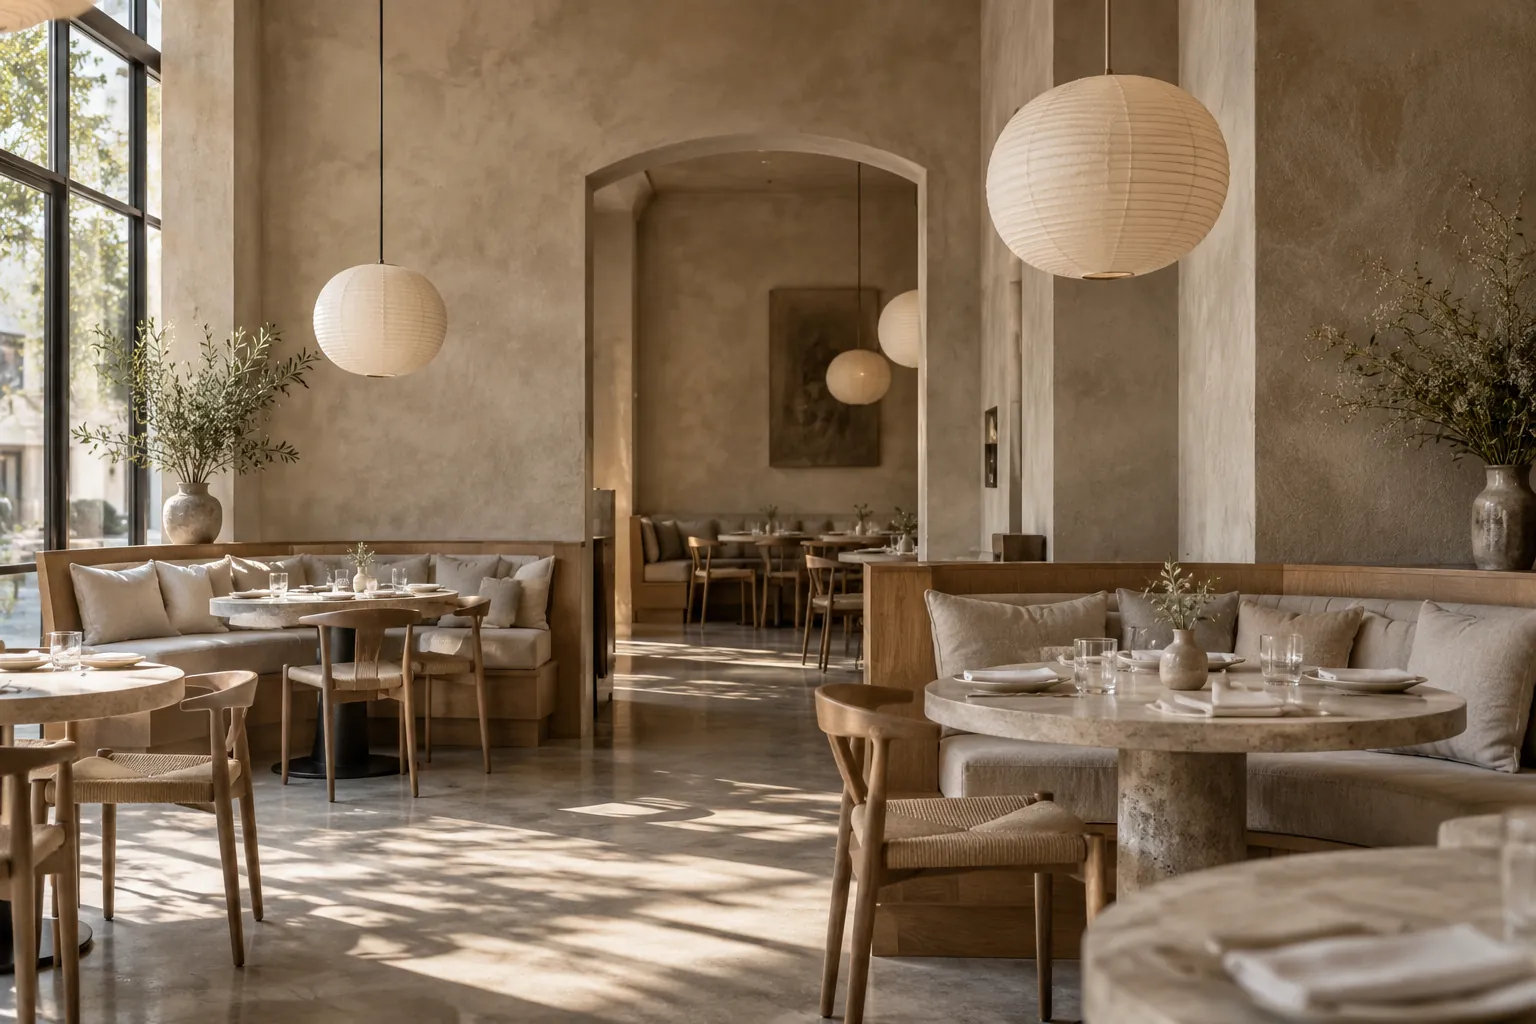
Refreshed warm taupe limewash on the tall walls and pilasters of a restaurant, with street windows and lantern lights
Building
Restaurant with two dining rooms joined by an arch, tall walls and street windows
Original request
Freshen limewash that is scuffed and faded after several years of service
Surface
Walls, pilasters and arch, already limewashed
Area
About 1,000 sq ft of wall
Existing finish
Warm taupe limewash, scuffed at shoulder height and faded by the street windows
Finish
One fresh coat of matching limewash over the whole of each wall
Timeline
Two closed Mondays, one room on each
Cost
$6,000

Scope of work

A vinegar test to confirm the old finish is lime; dusting and a gentle wash of the walls; masking of banquettes, floors and windows; one brushed coat on every wall, corner to corner, from a rolling scaffold; spare tinted lime left for touch-ups. The product is one that goes straight over old limewash.

Project overview

The restaurant walls have been limewashed for years. Shoulders and chairs have scuffed the lower part, and the walls by the street windows have faded, so the rooms look tired.

Old limewash does not need stripping. Once a little vinegar confirms it is lime, the walls are cleaned and take a fresh coat directly. Each wall gets a full coat from corner to corner, because patching just the scuffs would leave lighter spots.

The goal

Two evenly colored dining rooms again, with the scuffs and fading gone and no night of service lost.

Process

  1. Three weeks before Vinegar test, and a board in the old color held against faded and unfaded walls.
  2. First closed Monday Front room masked, walls dusted and washed gently, one full coat, tables back by evening.
  3. Second closed Monday The same in the back room, with the arch done last.
  4. Afterwards Spare tinted lime kept on site for small touch-ups.

Planning right

  • Some lime products go straight onto old limewash and some ask for a bonding primer first. The product is chosen to suit what is on the wall.
  • Faded walls by the windows and darker walls at the back will not both match one new board exactly. The board is checked against both before ordering.
  • Kent does not require a building permit for painting, for businesses or homes.
  • Plan a fresh coat every few years where people sit. It is a day’s work per room and needs no stripping.

Request a free quoteAbout commercial limewash

More limewash finishes

For more ideas, here is limewash in other rooms and on masonry. Pick a direction from them, then try the color on boards held against your own walls.

Interior walls and rooms

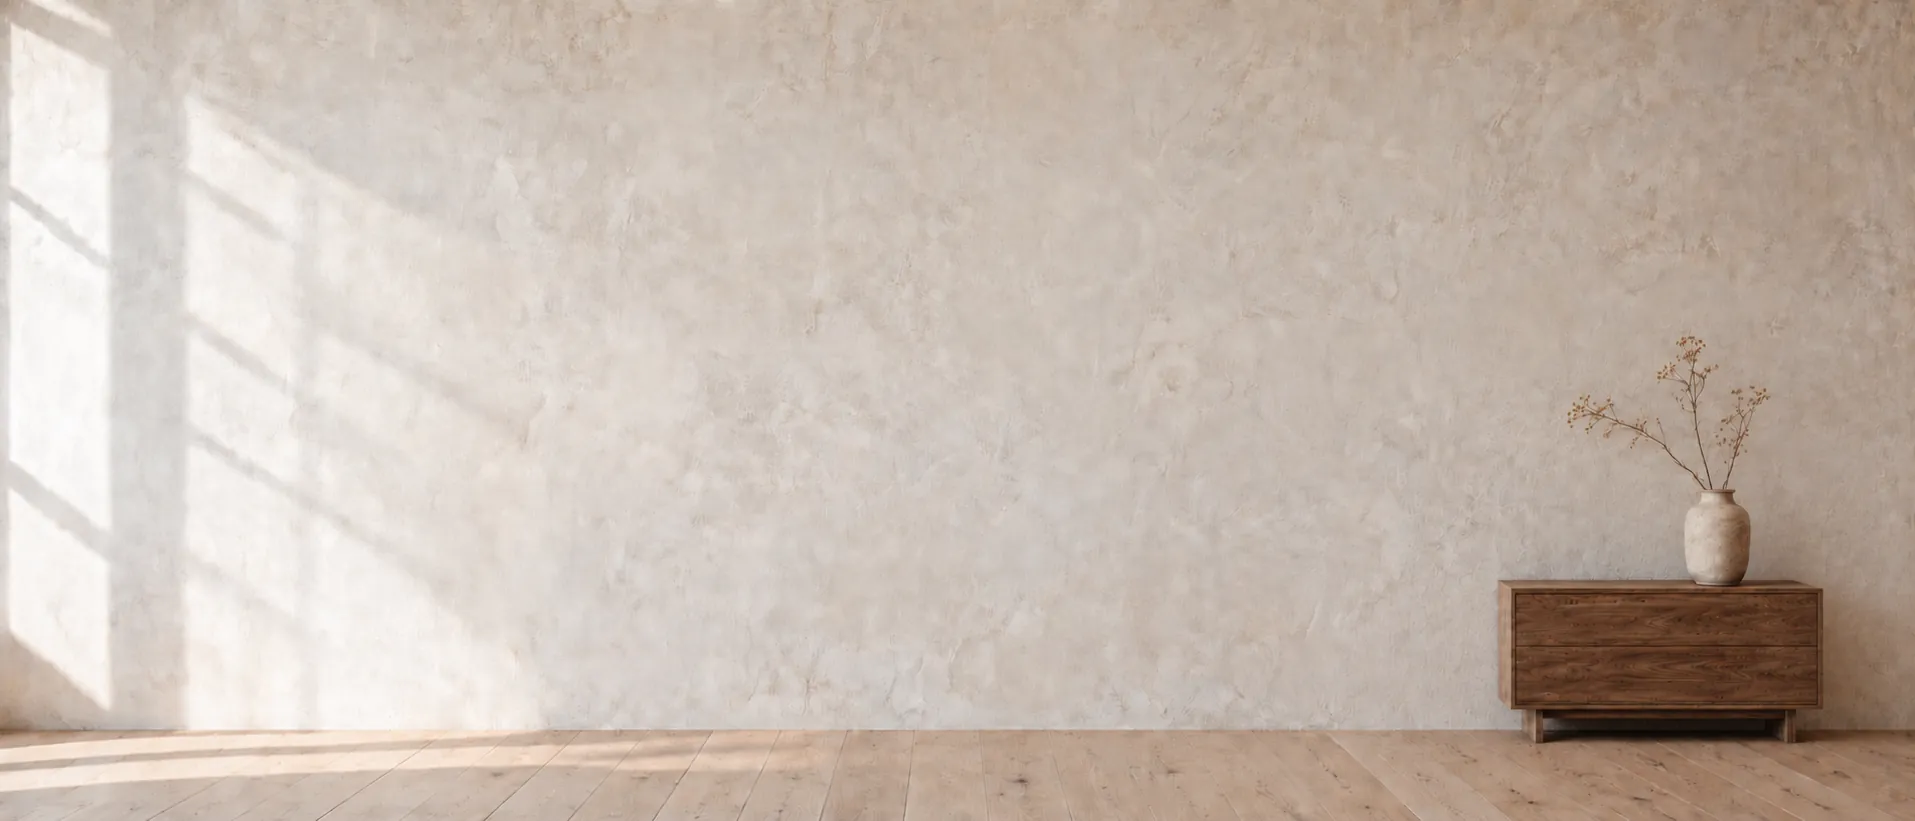
A chalk-white limewashed wall with a compact walnut sideboard and a stoneware vase of dried branches
Chalk-white limewash wall with a walnut sideboard
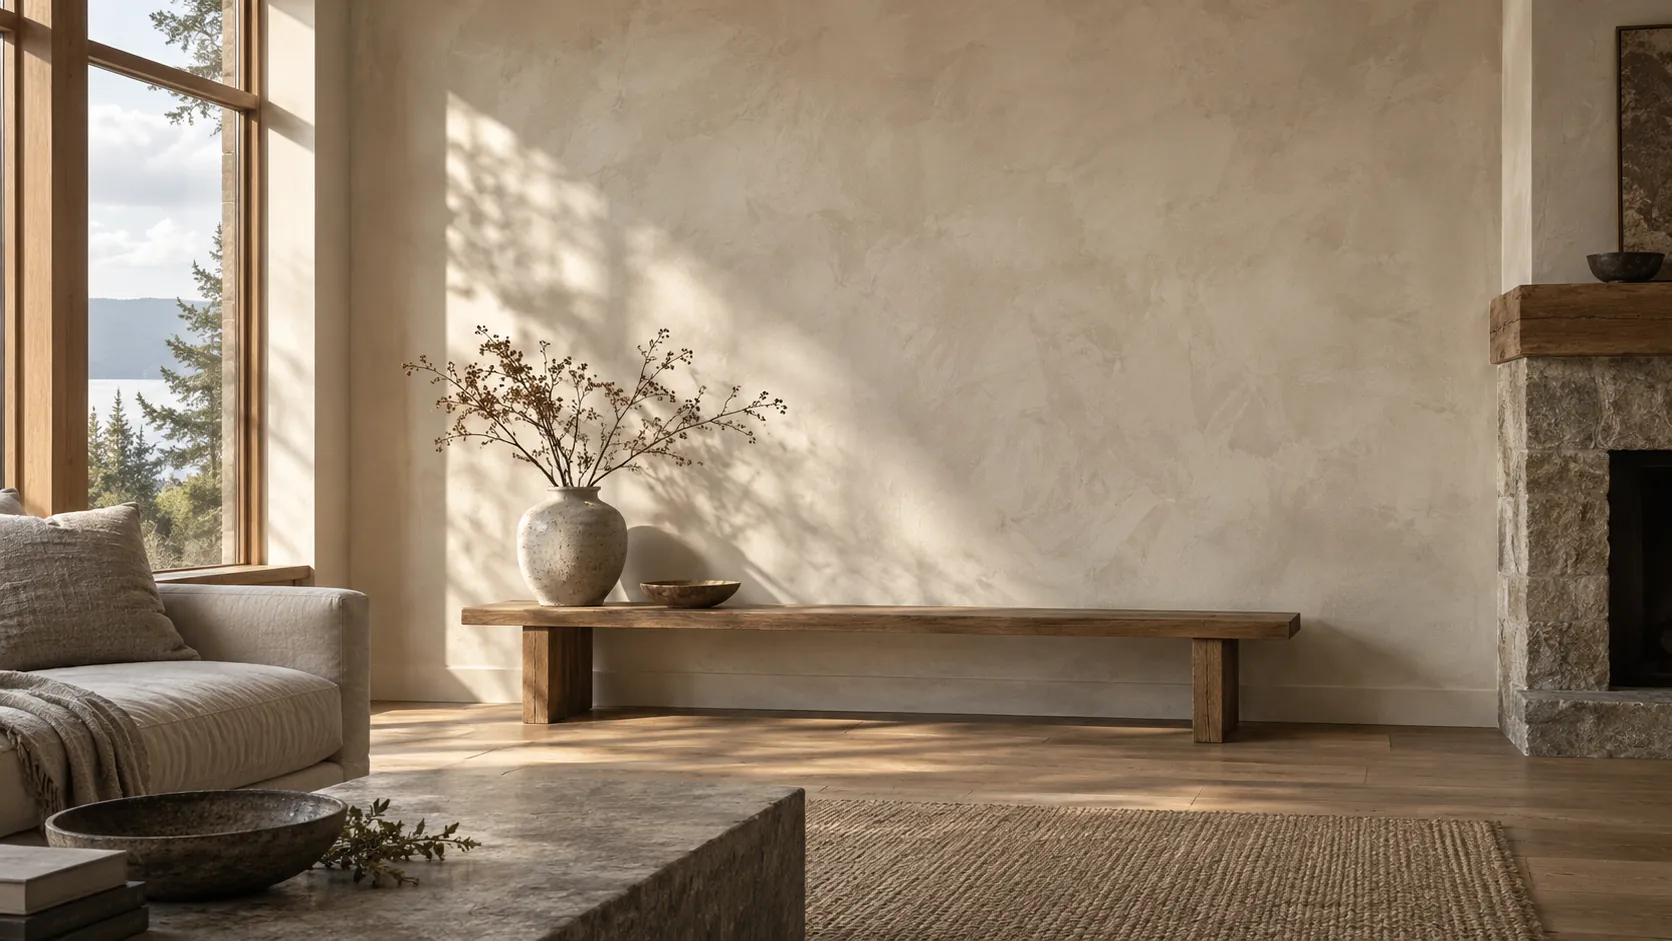
Ivory limewash on a living-room wall in low morning light
Warm ivory limewash wall in a living room
Close view of clouded limewash texture
Close detail of limewash brush movement
Bedroom with putty-white limewash walls
Putty-white limewash in a bedroom
Dining room with walls and ceiling in mushroom limewash
Deep mushroom limewash on walls and ceiling
Stair hall finished in oatmeal limewash
Oatmeal limewash in a two-story stair hall
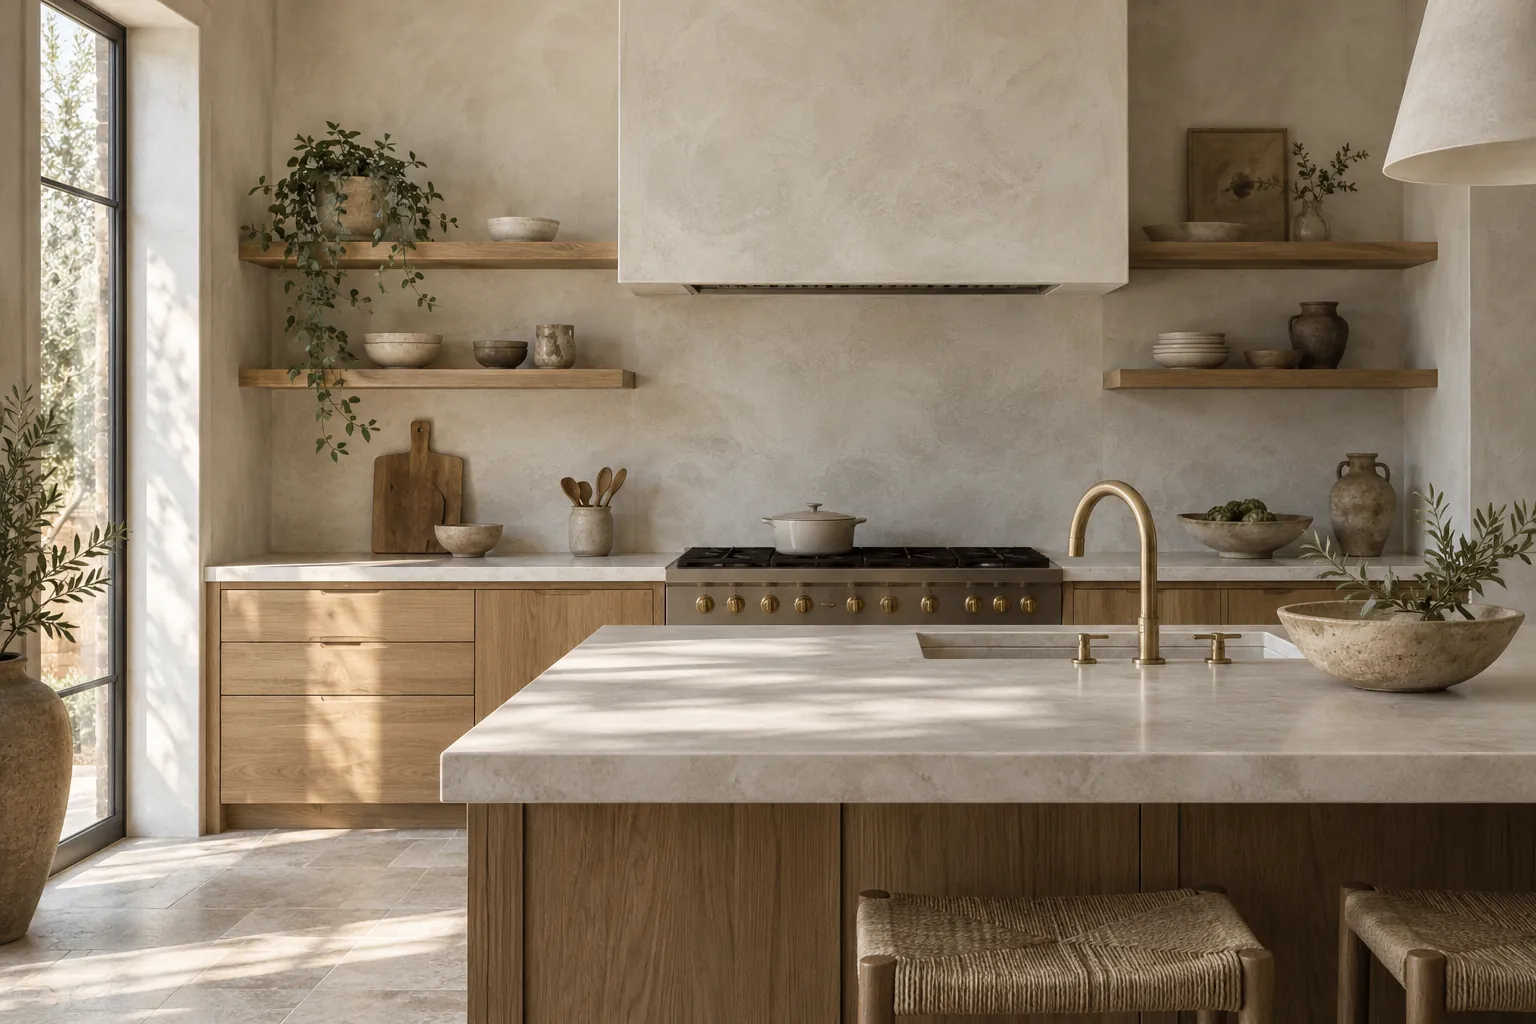
Kitchen with limewash range hood and wall behind open shelves
Creamy limewash on a range hood and kitchen wall

Masonry, commercial interiors and samples

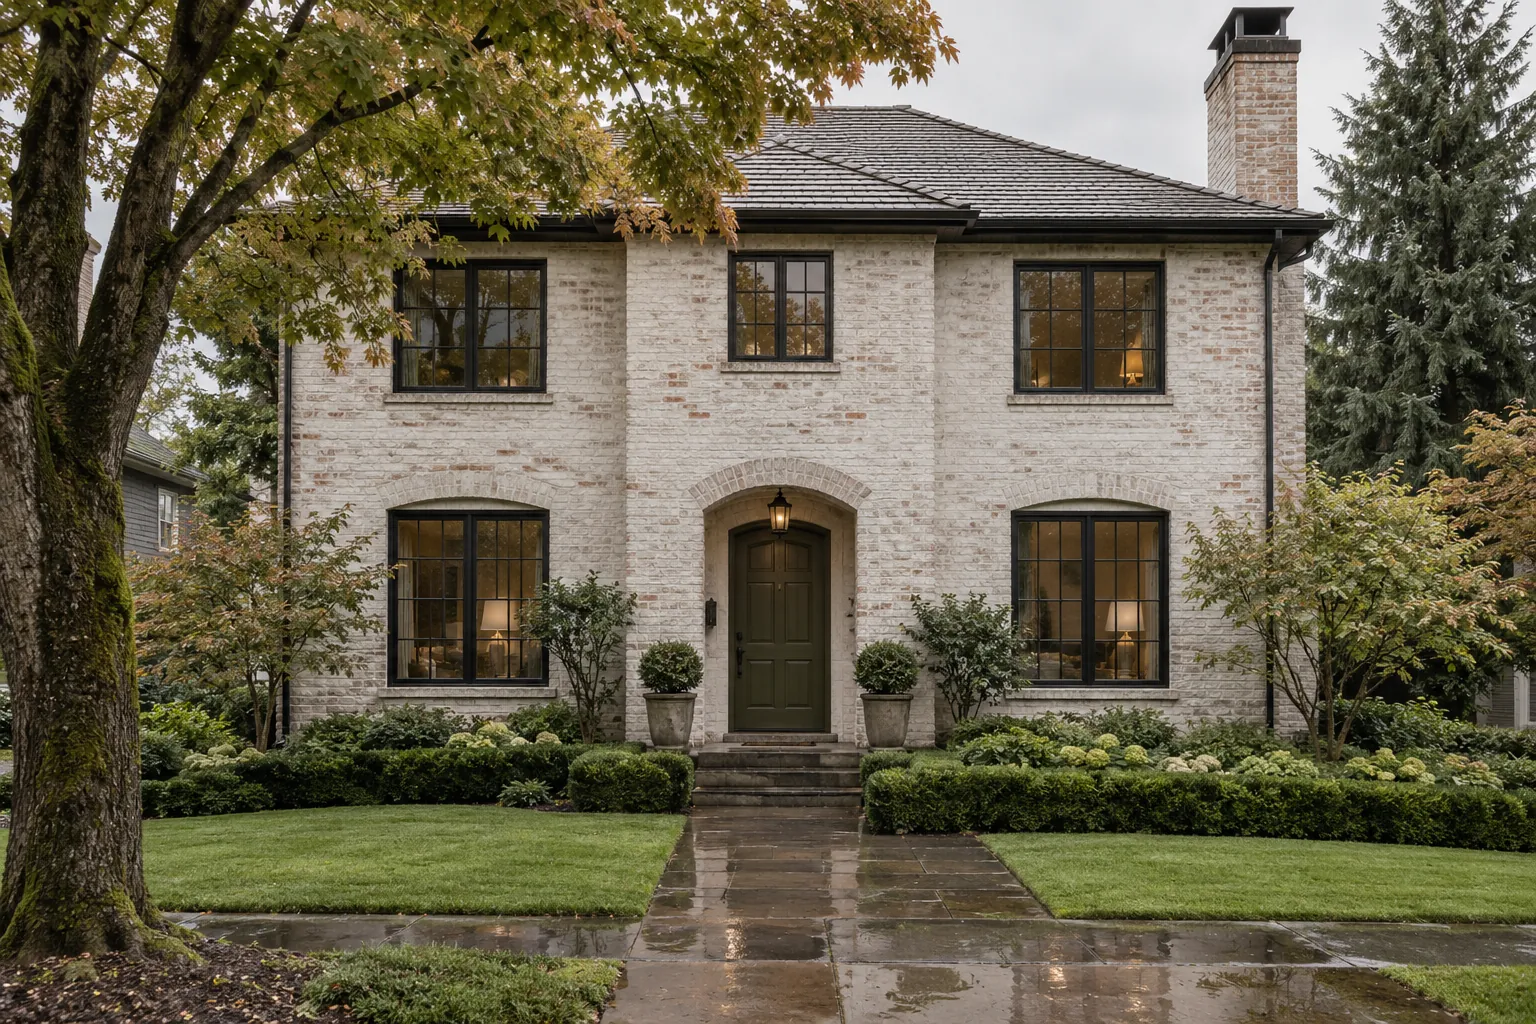
Two-story brick house with soft white limewash
Soft warm-white limewash on a brick house
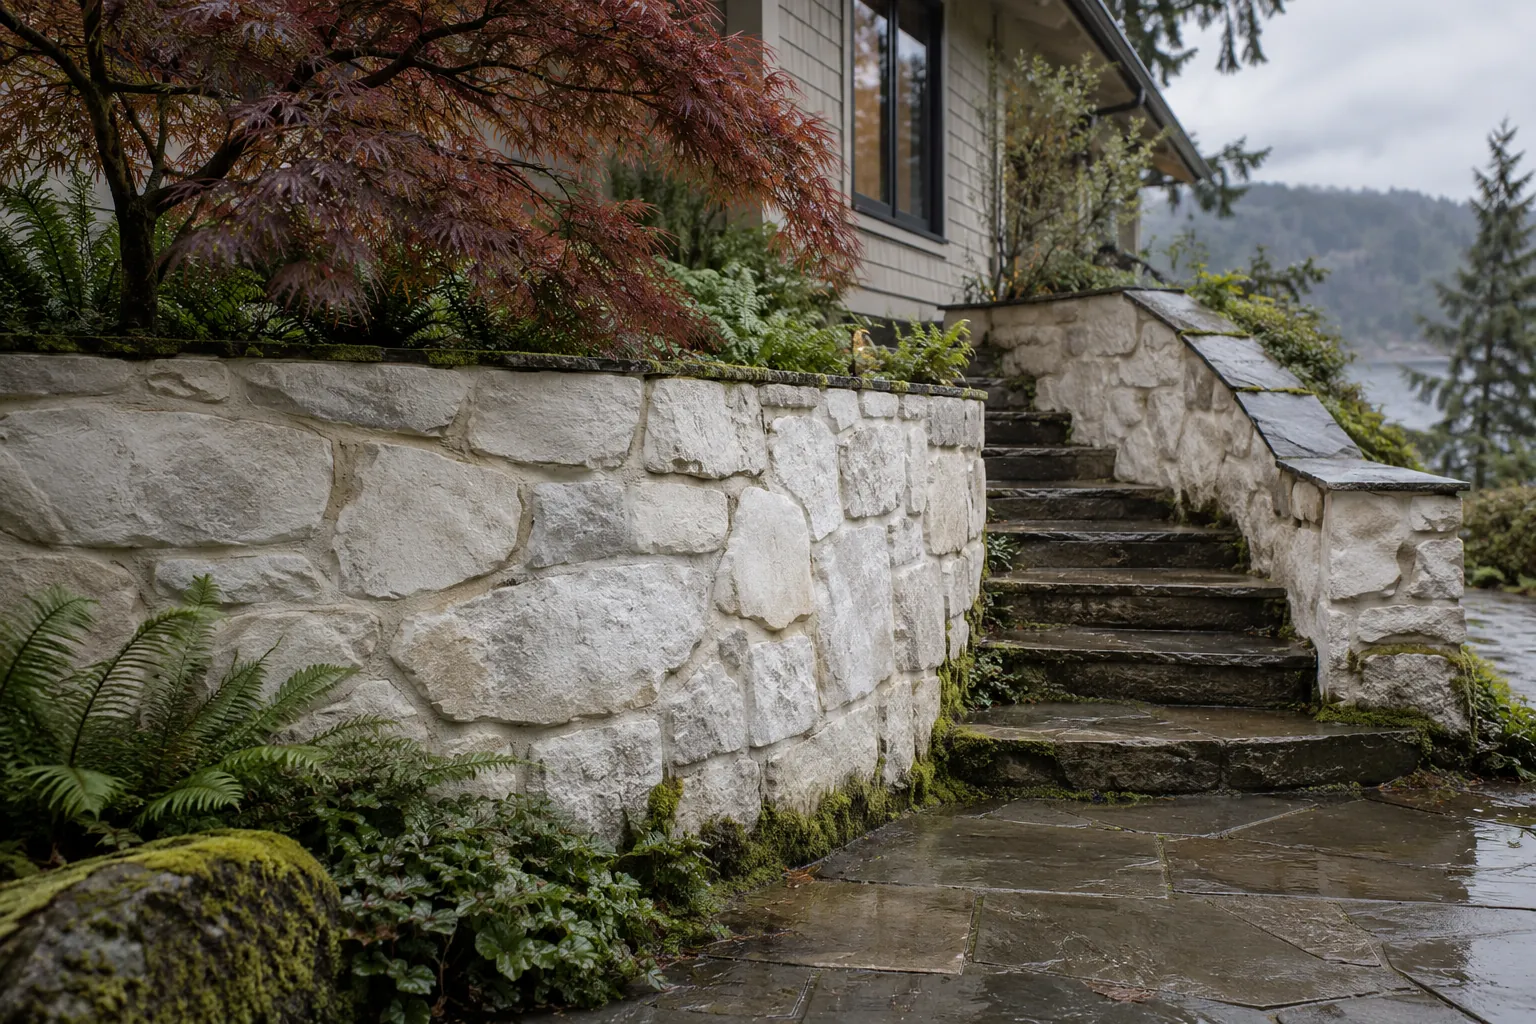
Fieldstone retaining wall and steps limewashed bone white
Fieldstone retaining wall in bone-white limewash
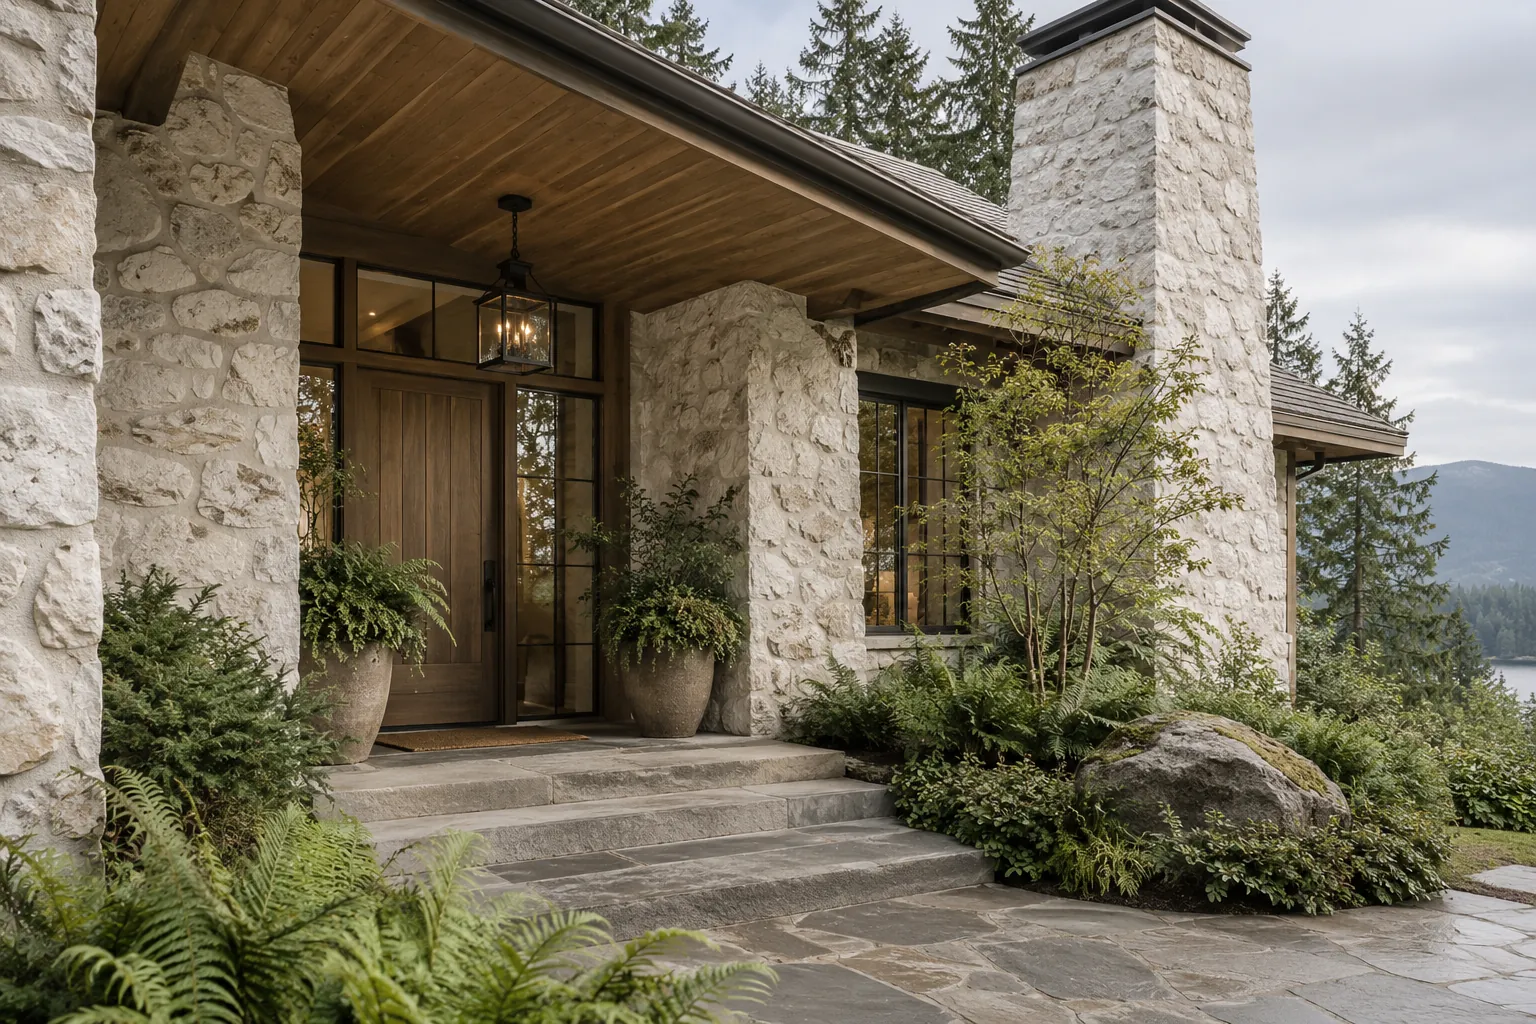
Fieldstone entrance and chimney limewashed bone white
Fieldstone entry and chimney in bone-white limewash
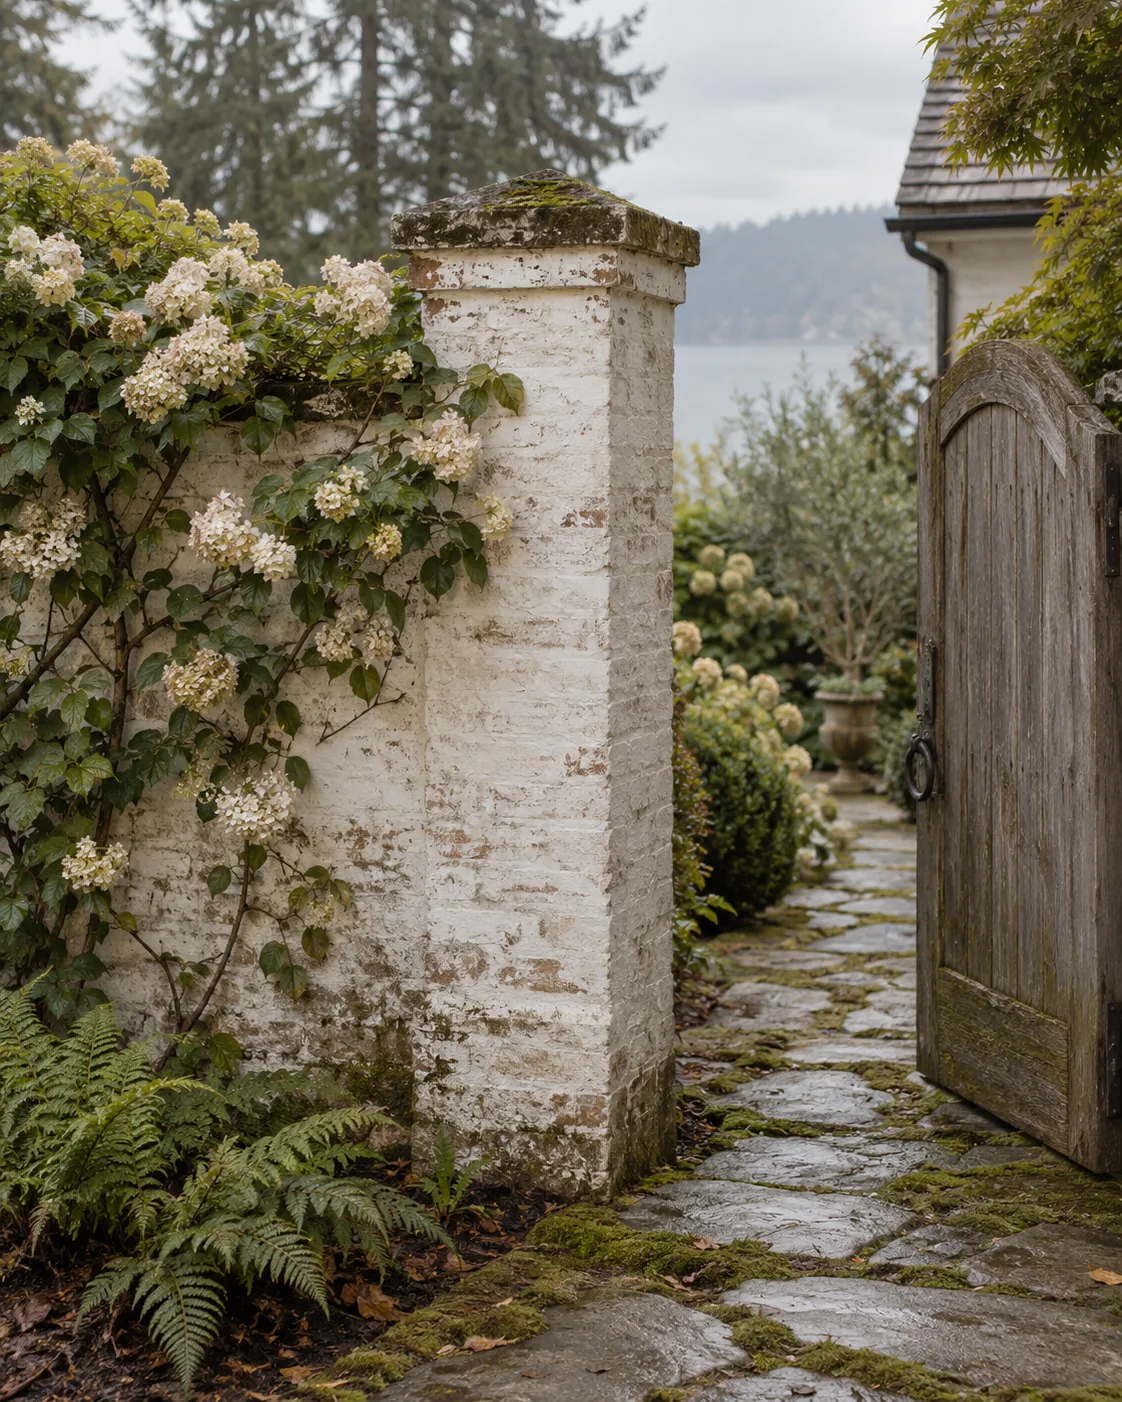
Brick garden pier with weathered limewash
Weathered white limewash on a brick garden pier
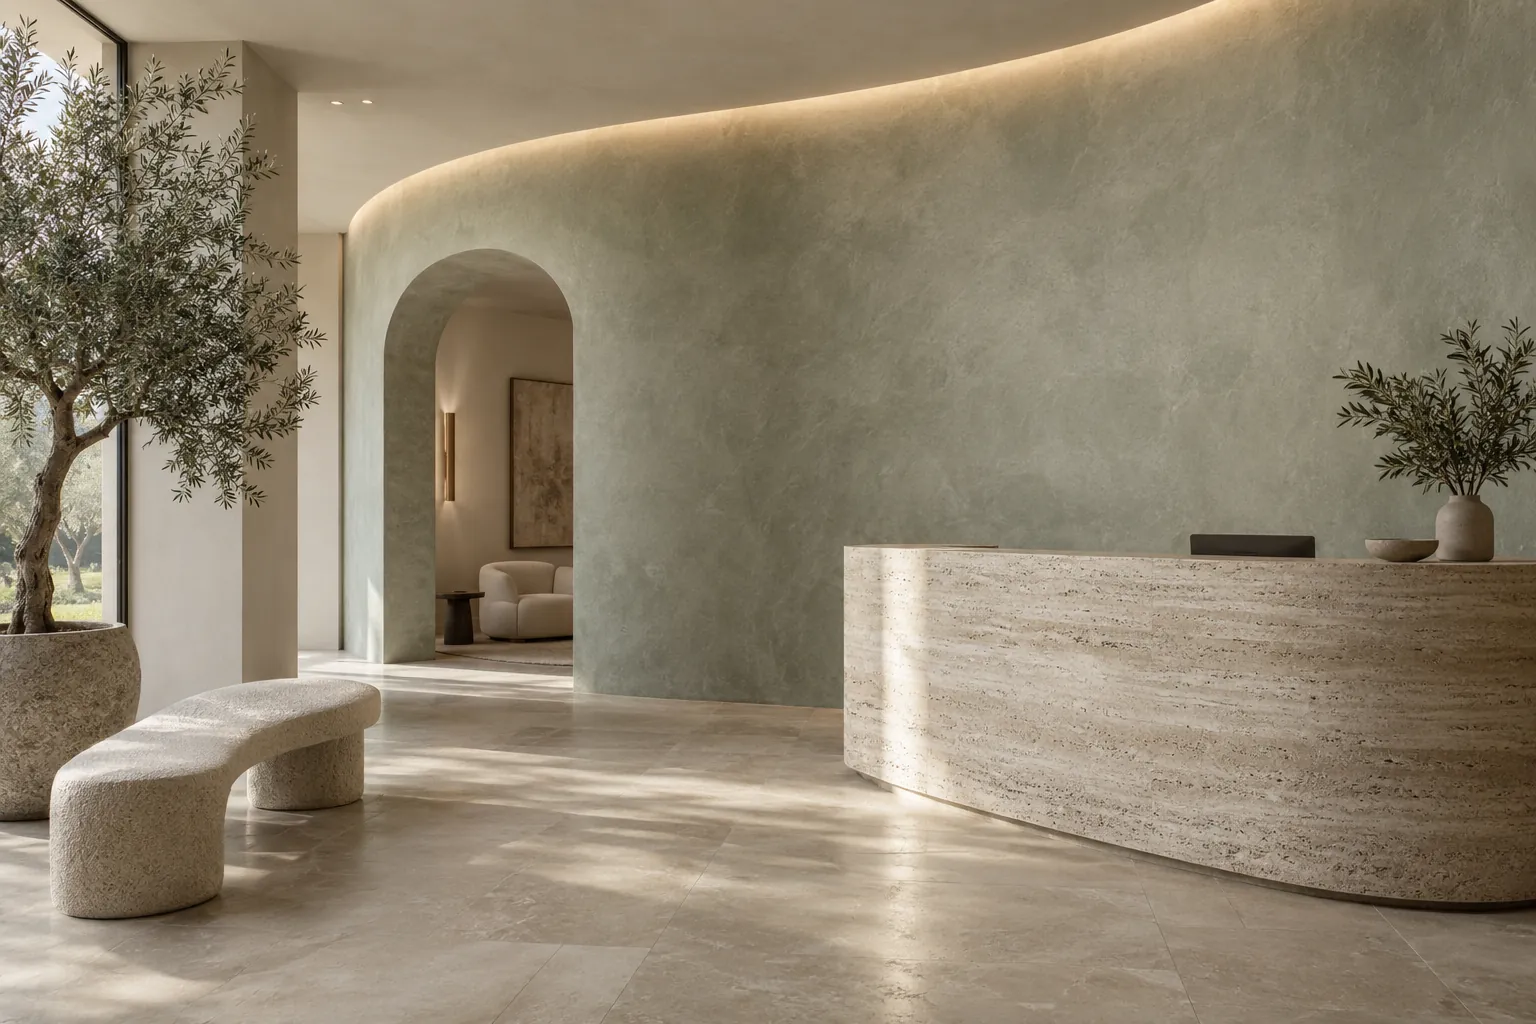
Lobby with a curved gray-green limewash feature wall
Gray-green limewash on a curved lobby wall
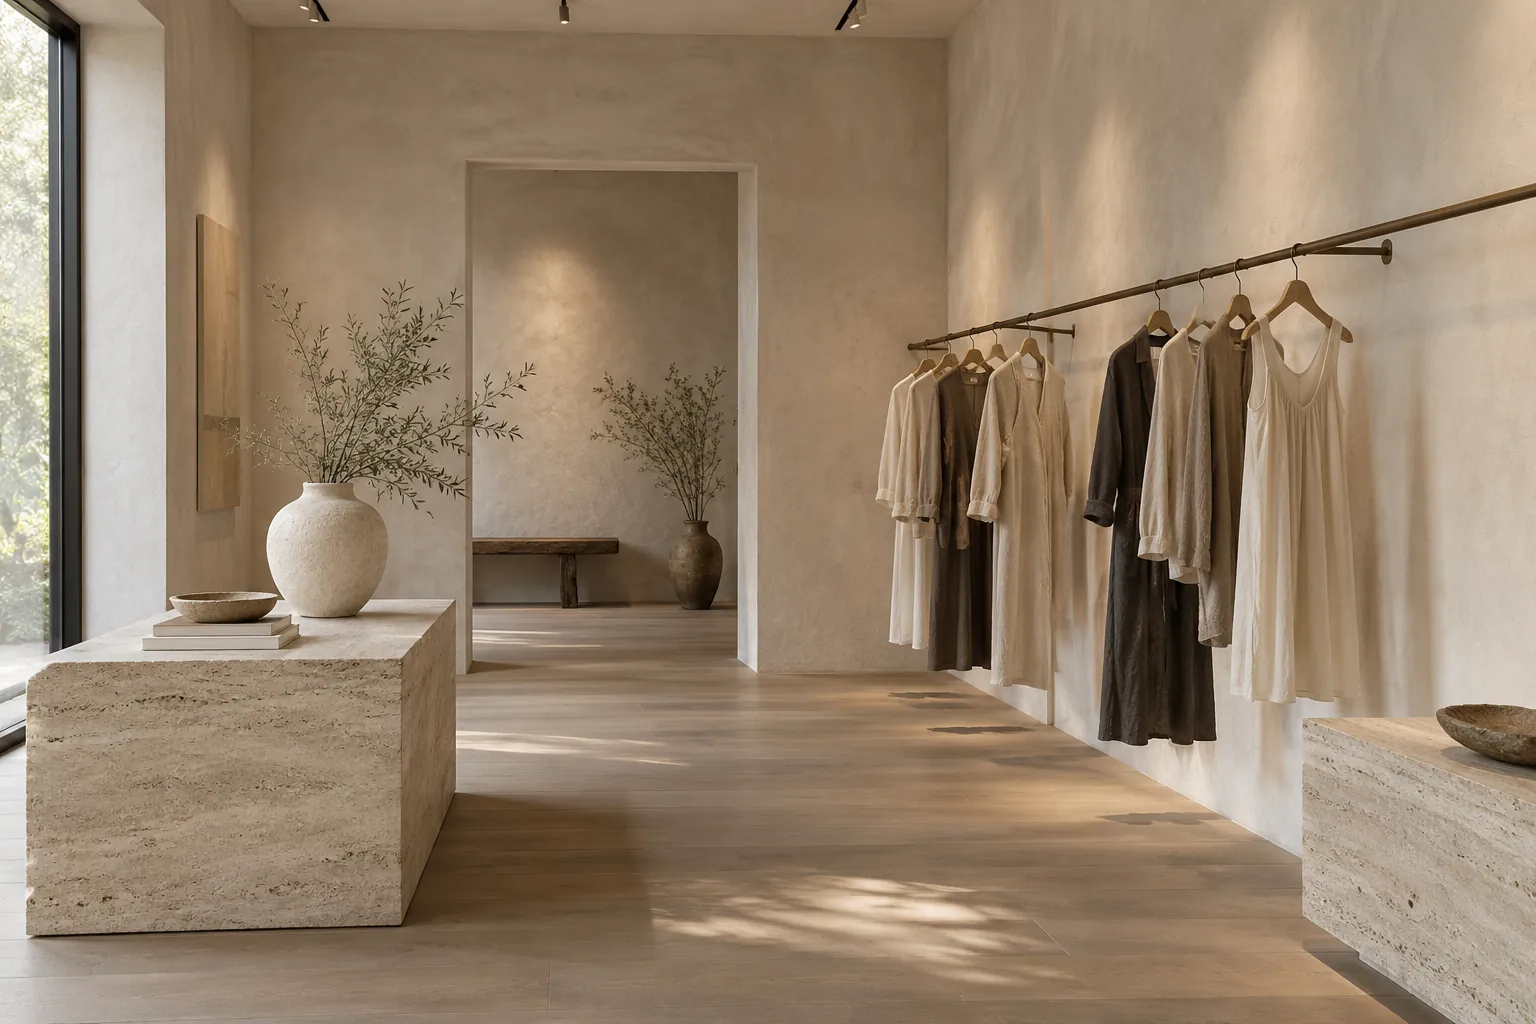
Boutique interior with pale clay limewash walls
Pale clay limewash in a boutique interior
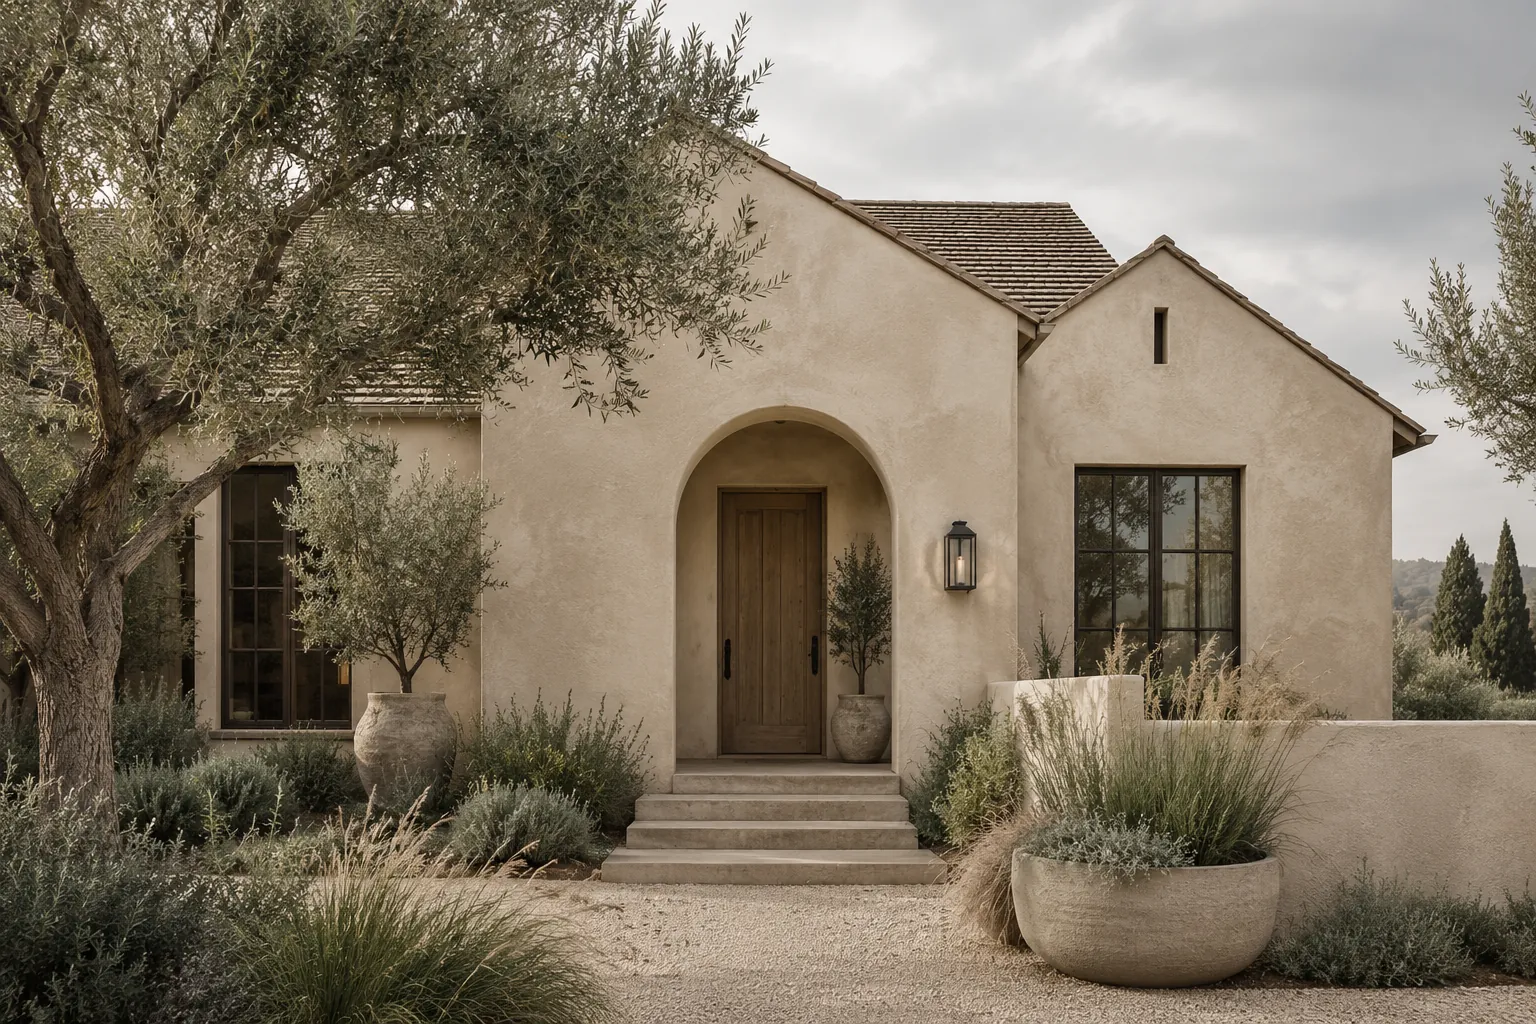
Single-story stucco house in sand-colored limewash
Warm sand limewash on a stucco house
Dining area with a limewashed interior brick wall
Interior brick wall in pale stone-gray limewash
Limewash sample boards in six mineral colors
Hand-brushed limewash sample boards

Request a free limewash quote

Tell us which surfaces you have in mind, roughly how big they are and where the property is. We'll get back to you soon with an estimate or any questions we have. Estimates are free and there's no obligation.

Call (253) 867-9998

Call (253) 867-9998